If you want to be successful at live streaming, you should pay close attention to…
How to Install XSplit and Stream Online
XSplit Broadcaster is a popular streaming tool for game streamers and other content creators. It is available on Windows 10 and comes with features for using media sources, composing scenes, and broadcasting to a variety of streaming platforms.
In this guide, we will walk you through the process of installing XSplit Broadcaster.
Free XSplit Vs. Paid XSplit
XSplit has a simple and straightforward pricing model. You can download the Free version if you want to start streaming straight away, or you can purchase the Premium version (starting at $15 for a 1-month subscription) to unlock additional features.
The table below provides a summary of what each version offers:
| Features | Broadcaster Free | Broadcaster Premium |
|---|---|---|
| Number of scenes | 4 | Unlimited |
| Content: Games, Text, Multimedia, HTML, IP Camera etc. | Yes | Yes |
| Thumbnail Scene Preview | Yes | Yes |
| Chroma Key | Yes | Yes |
| Scene Transitions | Yes | Yes |
| Source and Extension Plugins | Yes | Yes |
| Split Mode | Yes | Yes |
| Virtual Camera | With watermark | Yes |
| Skype Video Camera | No | Yes |
| Audio Source, Local Streaming, Stream Delay | No | Yes |
| Simultaneous broadcasting to multiple stream services | No | Yes |
| Source Transitions | No | Yes |
| Projector | No | Yes |
| Preview Editor | No | Yes |
| Audio Mix Preview | No | Yes |
| Resolution | Watermark if above 720p | Unlimited |
| Audio Codec | AAC 96 kbps. mono | Up to AAC 192 kbps. stereo |
| Maximum FPS | 240 fps; watermark if above 30 fps | 240 fps |
| 24/7 Support | Basic | Full |
| Available for commercial use | No | Yes |
If you’re a beginner, we recommend you try the Free version first and upgrade only if you need one of the extra features the Premium version offers.
A popular alternative is OBS. Read our article on streaming with the most popular streaming software on the market – How to Stream with OBS
Installing XSplit Broadcaster
The installation procedure for XSplit Broadcaster is fairly standard. You download the installer file, run it on your PC, and optionally create an XSplit account.
Step 1: Download XSplit Broadcaster
You can download the free version of Broadcaster straight from the official product homepage. Save the installer .exe file somewhere on your hard drive.
Step 2: Run the Installation Wizard
Run the installer and follow the installation wizard.
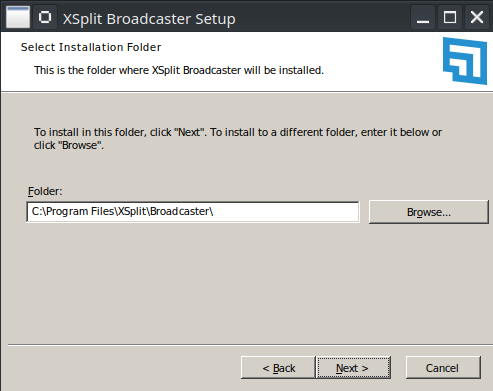
Optionally, install Broadcaster in a different directory than the default one.
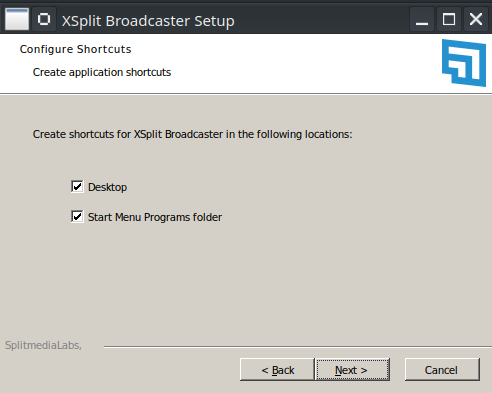
Tick the boxes to create a Start Menu option and Desktop icon, and click Next.
After the installer finishes, XSplit Broadcaster is almost ready to use.
Glimpse offers an easy way to monetize your livestream content. Create a Glimpse account and invite fans to sponsor you by donating Glimpse tokens.
The best part is you pay 0% commission on your earnings thanks to Glimpse’s monetization system.
Step 3: Create an XSplit Account
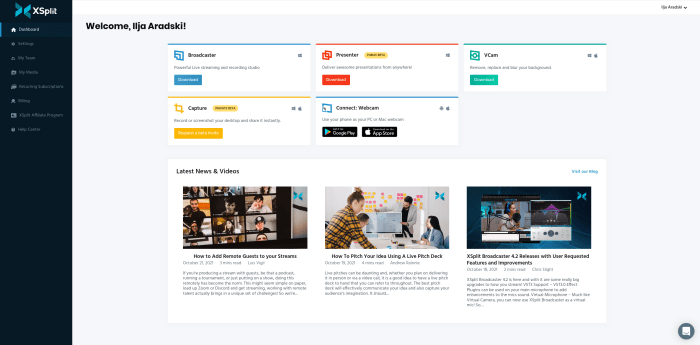
To use XSplit Broadcaster, you need an XSplit account. Create one by navigating to the Dashboard section of the XSplit website. You can also sign in with your account on:
- Apple
- Microsoft
- Twitch
Once you sign in, you are greeted with the Dashboard page. Use the Dashboard to upgrade to the Premium version of Broadcaster, download other XSplit products, or sign up for the XSplit Affiliate Program.
Step 4: Run XSplit Broadcaster
Run XSplit Broadcaster using the Start Menu option or desktop shortcut. After launching the app, you are greeted with XSplit’s login screen.
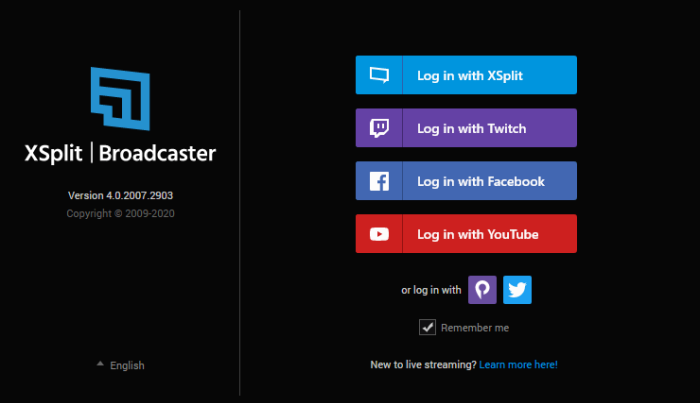
Log into your account and proceed to the main screen.
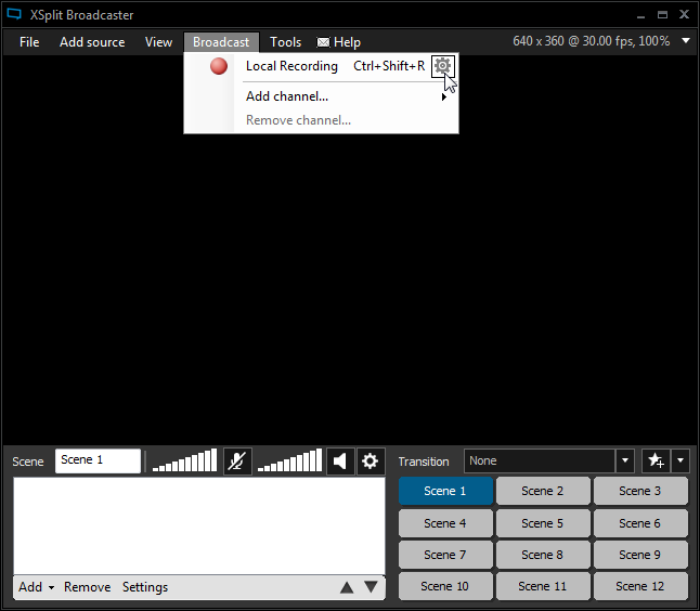
Congratulations, you can now sign up for Glimpse and start your first livestream!
Conclusion
Whether you’re a beginner or an experienced streamer, XSplit Broadcaster offers everything you need to start your own livestream. Try the Free version first, and upgrade once you’re comfortable with the UI, or you want to unlock one of the Premium features. Happy streaming!
Don’t forget to also check out our comparison of Xsplit Broadcaster Vs. Gamecaster.


