Minecraft players love collecting achievements. Some do it to brag to their online friends, others…

How to Make Your Own Game Server
Some multiplayer games allow you to create your own game server as an alternative to using official servers.
The main advantage of running your own game server is customization. You can choose who gets to play on your server, set custom game options, and enable community-made mods and extensions.
In this post, we will teach you how to make your own game server for some of the most popular multiplayer games, including Minecraft, CS:GO, ARK: Survival Evolved, and Valheim.
Note: Become a video game streamer with the help of our guide How to Stream Video Games!
Dedicated vs Shared
Before we go into the details of how to make your own server, a word on the difference between renting a server and running one on your PC.
If you just want to play a multiplayer game with a couple of friends, you can host a server on your PC. On the other hand, if you want to run a server that can support many players with constant up-time, you’re better off using a server hosting service.
When it comes to third-party server hosting, you have two options:
- Dedicated Hosting – You get a server machine devoted entirely to you. Dedicated game servers come with a range of benefits, including custom software installation, DDoS protection, fast connection speed, unique IP address, high bandwidth, live support, and other perks depending on the provider. Dedicated hosting is intended for users that wish to run multiplayer servers for large numbers of players with 24/7 up-time.
- Shared Hosting – You share a server machine with other users. This means that your server might perform slower depending on how many resources the other users are using. The benefits of shared hosting are that it is more affordable than dedicated hosting, and the setup process for the server is easier.
Create Your Own Game Server
If you want to run a game server on your own PC, you’ll have to set one up.
The process can be as easy as downloading and running a single file, or as complicated as using the command line to configure each server option manually. It all depends on the game you’re trying to host.
Below you’ll find the basic procedure for setting up a multiplayer server for some of the most popular multiplayer games around with support for user-made servers.
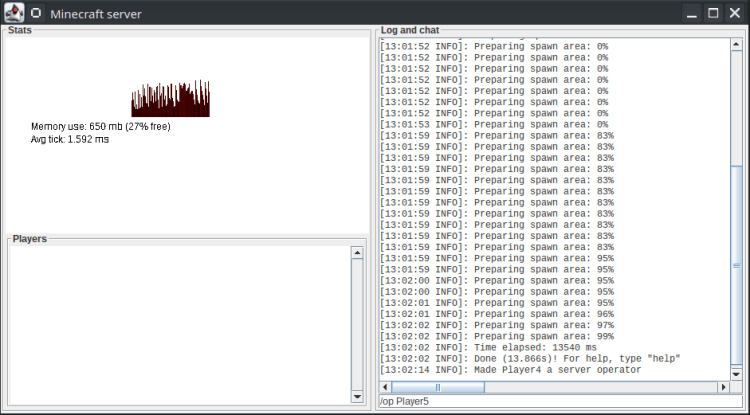
1. Minecraft
When running a server on your PC, Minecraft is one of the easier games to set up. Simply:
- Install the latest version of Java.
- Open ports TCP: 25565 and UDP: 19132 – 25565 in your router configuration.
- Download the server.jar file from the official Minecraft website and put it in a folder.
- Run the server file once, then modify the eula.txt file by replacing the line eula=false with eula=true.
- Run server.jar whenever you want to start the server.
Note: For an in-depth guide, read our article How to Set Up a Minecraft Server on Windows.
2. Counter-Strike: GO
The simplest way to set up a CS:GO server is to use csgosl, a GUI frontend that supports one-click installation, updates, and server management on both Windows and Linux.
To run a server with csgosl:
- Open ports TCP:27015 and UDP: 27005, 27015, 27020, 51840 in your router configuration.
- Download the csgosl-windows.zip file from the official csgosl GitHub page.
- Unzip the downloaded file and navigate to the csgosl-windows folder.
- Run csgosl.vbs and click Install Server.
- Restart csgosl and click Start Server.

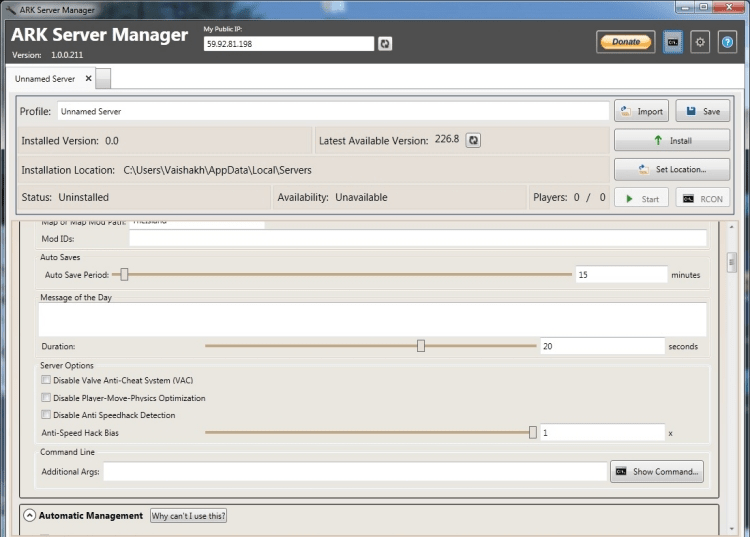
3. ARK: Survival Evolved
To set up a server for ARK: Survival Evolved, it’s best to use the ARK Server Manager, a community-made tool for running and managing dedicated servers.
- Open ports TCP:27020 and UDP: 7777-7778, 27015 in your router configuration.
- Download and run the ARK Server Manager installer file latest.exe from the official forum.
- Create a folder for storing server files.
- Run the ArkServerManager.exe desktop shortcut.
- Create a profile.
- Click Install to download and install the server.
- Configure the server:
- Set the server name.
- Set the server password (or leave blank to allow anyone to join).
- Set the admin password (required for running in-game server commands).
- Select an IP address from the dropdown list.
- Click Save.
Check out the comparison of ARK and Rust in our article ARK vs Rust: Which Survival Game Should You Play Next?
4. Valheim
Although Valheim is still in early access, it comes with a fully functional dedicated server feature.
To set up a Valheim server:
- Open ports UDP: 2456-2458 in your router configuration.
- Install the Valheim dedicated server through the Steam Library.
- Navigate to C:\Program Files (x86)\Steam\steamapps\common\Valheim Dedicated Server and open the start_headless_server.bat file in Notepad.
- Configure the server by editing the following entries:
- Name “My server.” Replace
“My server”with the name you want to show up in the Server list. - World “Dedicated.” Replace
“Dedicated”with the name of the world you want to use on the server. - Password “Secret.” Replace
“secret”with the password you want to use for your server.
- Name “My server.” Replace
- Double-click start_headless_server.bat to start the server.
Hosting Your Own Voice Chat Server
In addition to running your own game server, you can also run a dedicated server for voice chat.
The two main options here are Discord and Mumble.
1. Discord
By creating a Discord server, you will automatically gain access to a voice chat channel. To create a Discord server, do the following:
- Register a Discord account.
- Download and install the Discord desktop client.
- Click + in the sidebar and then click Create a server.
- Enter a name for your server and click Create.
- Enter the server, and under Voice Channels you will find the default voice channel.
When you invite people to the server, they will have access to the voice channel.
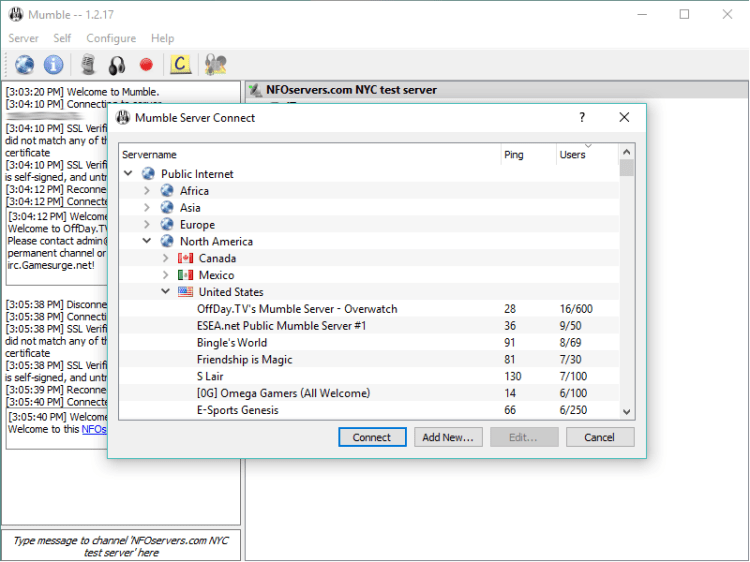
2. Mumble
Mumble is a free, open-source, low-latency voice chat application. Mumble uses an app called Murmur for hosting voice chat servers. You can use Murmur to host your own voice chat server for free by doing the following:
- Download and run the Mumble installer. Be sure to select Murmur during the installation.
- Navigate to C:\Program Files\Mumble and open the murmur.ini file in Notepad.
- Configure the server by editing the following entries:
Serverpassword. Enter the password of your choice.RegisterName. Enter the name of your choice for the server.
- Launch Murmur from the start menu.
Note: For an in-depth guide, check out phoenixNAP’s guide on how to install Mumble on Linux.
Conclusion
Making your own game server is a viable alternative to playing on official servers. Customize the server to your liking and create a multiplayer gaming experience your friends and followers will love.
Related Posts