Minecraft players love collecting achievements. Some do it to brag to their online friends, others…
How to Play Minecraft in Borderless Window Mode
This guide explains how to run Minecraft in a borderless window.
Advantages of a Borderless Window
There are a couple of advantages to running Minecraft in a borderless window:
- You can move the mouse seamlessly between monitors in a multi-monitor setup.
- You can Alt+Tab without stuttering and visual glitches.
- You can have other windows running on top of the Minecraft window.
How to Make Minecraft Borderless
Microsoft has officially dropped support for borderless window mode starting with Minecraft version 1.13. That leaves two options for enabling borderless window mode.
Option 1: Using JVM Arguments
To take this route, downgrade Minecraft to version 1.12.2 or earlier. After setting up an older installation of Minecraft, enable borderless window mode through the Minecraft Launcher.
1. Run the Minecraft launcher.
2. Switch to the Installations tab.
3. Highlight the downgraded installation in the list, click the ellipsis icon and select Edit from the menu.

4. In the Edit installation window click More Options.
5. Scroll down to the JVM Arguments field and append the following flag at the end:
-Dorg.lwjgl.opengl.Window.undecorated=true
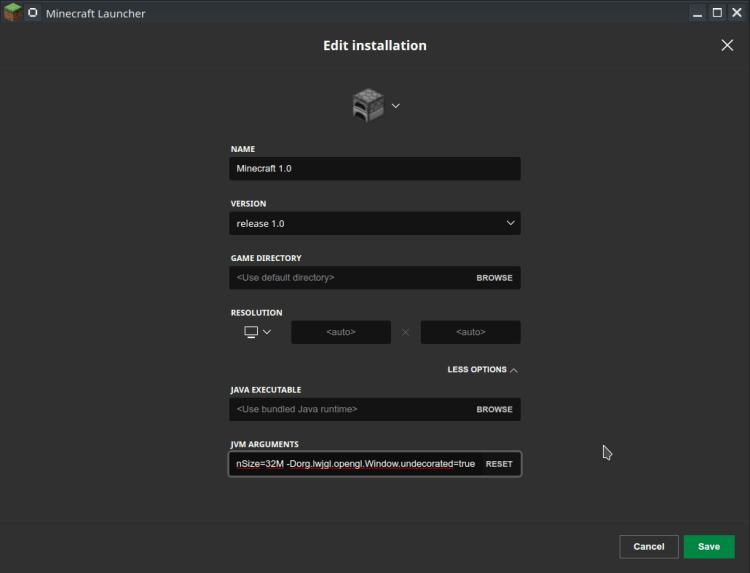
6. Click Save and switch back to the Play tab.
7. Play the game in borderless window mode.
Glimpse’s Game Server monetization feature makes it easy for you to earn money from your Minecraft server. Create an account today and start collecting payments with a 0% fee on your earnings!
Option 2: Using Mods
The other option is to use a mod. To use mods, you will need the Minecraft Forge modding API. To install Minecraft Forge:
1. Visit the official Minecraft Forge website and download the latest installer of Minecraft Forge (1.65.5 – 36.1.0 at the time of writing).
2. Navigate to the folder where you downloaded the installer file and run it.
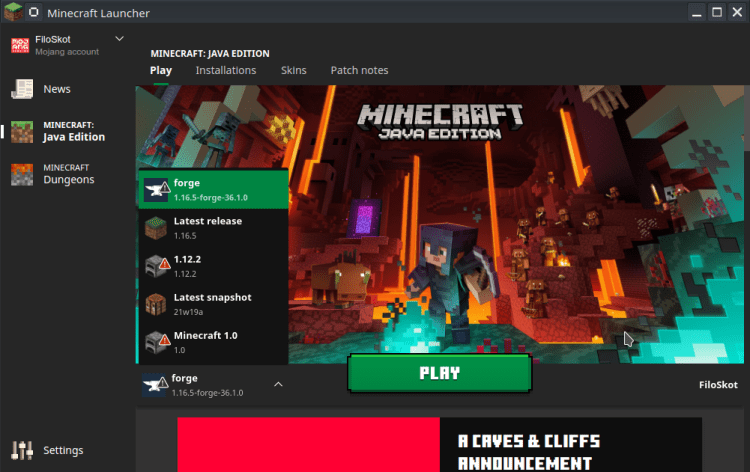
3. Once the installation finishes, run Forge from the Minecraft Launcher.
Next, install a mod for borderless window mode. We recommend Fullscreen Windowed (Borderless) Mod 1.16.5/1.15.2.
1. Download and save Fullscreen-Windowed-Mod-1.16.5.jar from http://www.mc-mod.net/fullscreen-windowed-borderless-mod/.
2. Run the Minecraft Launcher.
3. Select Forge in the Play tab from the drop-down menu and press Play to launch the game.
4. Click Mods in the main menu.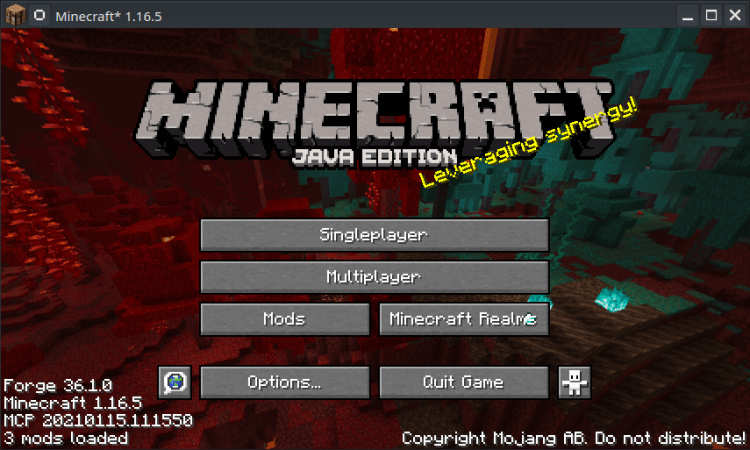
5. Click Open mods folder. This minimizes the game and opens the mods folder.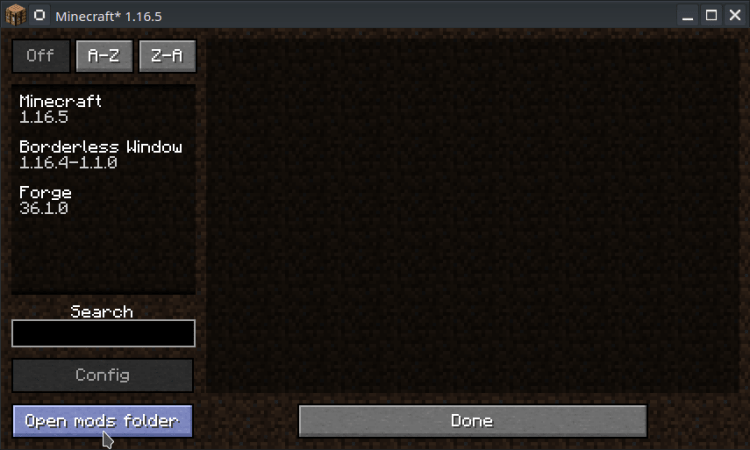
6. Paste Fullscreen-Windowed-Mod-1.16.5.jar.
7. Click Done and restart Minecraft.
8. Go to Mods again, and you will see the Borderless Window mod in the list.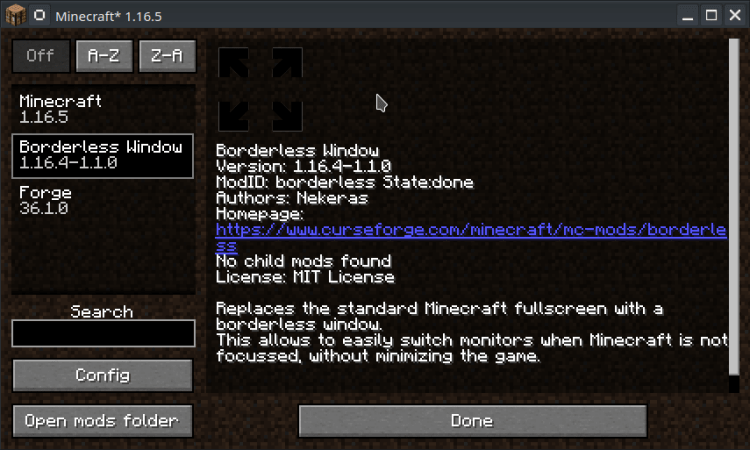
9. Play the game in borderless window mode.
Conclusion
Running Minecraft in borderless window mode can make for a more enjoyable gameplay experience. While the game no longer officially supports borderless window mode, you can still enable it in just a few steps.
Glimpse makes it easy for you to sell access to your Minecraft, Steam, Terraria, Rust, 7 Days to Die, Starbound, and most other gaming servers. Using our esports platform, you can connect your server directly to the platform and enable access to it within a sponsorship level.
- Sell access to your server within sponsorships
- Whitelist specific users for your gaming server
- Use webhooks to connect your server in several simple clicks
- Glimpse’s monetization system charges 0% commission so you get 100% of your earnings
Related Posts